Suggested Articles

Green roofs boost solar panel efficiency
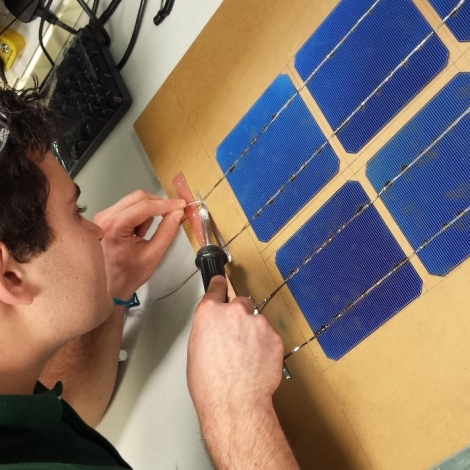
If anyone is keeping score, machines might have beat plants at their own game. By at least one measure, solar photovoltaic panels can convert sunlight to storable energy...
Please sign-up or login
If anyone is keeping score, machines might have beat plants at their own game. By at least one measure, solar photovoltaic panels can convert sunlight to storable energy...
Wow,thank you for the guide.
I have just been selected as a mentor a student boys club in my school,in Ghana and we shall be also engaging in science, and or technology related activities including climate change related activities.
I am a non professional teacher in a junior school, Darul Hardis JHS in Tamale.I teach Basic design and Technology. I studied Mechanical Engineering and Human Settlement Planning after pursuing General Science and Mathematics in Secondary School.
I love Engineering,Science or Technology related programs and activities.
I am very much pleased to be in small way connected to you, E4C.
Thank you so much for always reaching me with important transforming guides and information.
I wish to be a member with an ID card so I can be proud. I love E4C.
Thank you
regards,
Bash.
Darul Hardis JHS,Tamale.
Nice effort BUT…
Where is “building” here ?
It is just a assembly job.
We are basically doing the “BUYING the Cells” from someone.
If we can build that core thing, then only we should publish that work here at engineering for change.
Because there are ample videos like this https://www.youtube.com/watch?v=qq8qlc3OXOQ are already available to watch and build in an easier way.
Hope you understand my point. Many of engineers will visit this page to see the same thing, I was looking for.
May be that will waste their 5 minutes but 5 minutes is something.
You have spend time building this and you prepared a nice guide. Thank you for that.
I have just shared my honest opinion.